At the start of any project, I review the requirements and ask questions. What is the playback device? Does it require an online content management system? Is there anything unique about this application? From time to time, there are projects that require learning a new skill or discovering some technology that will make this work within the project’s demand.
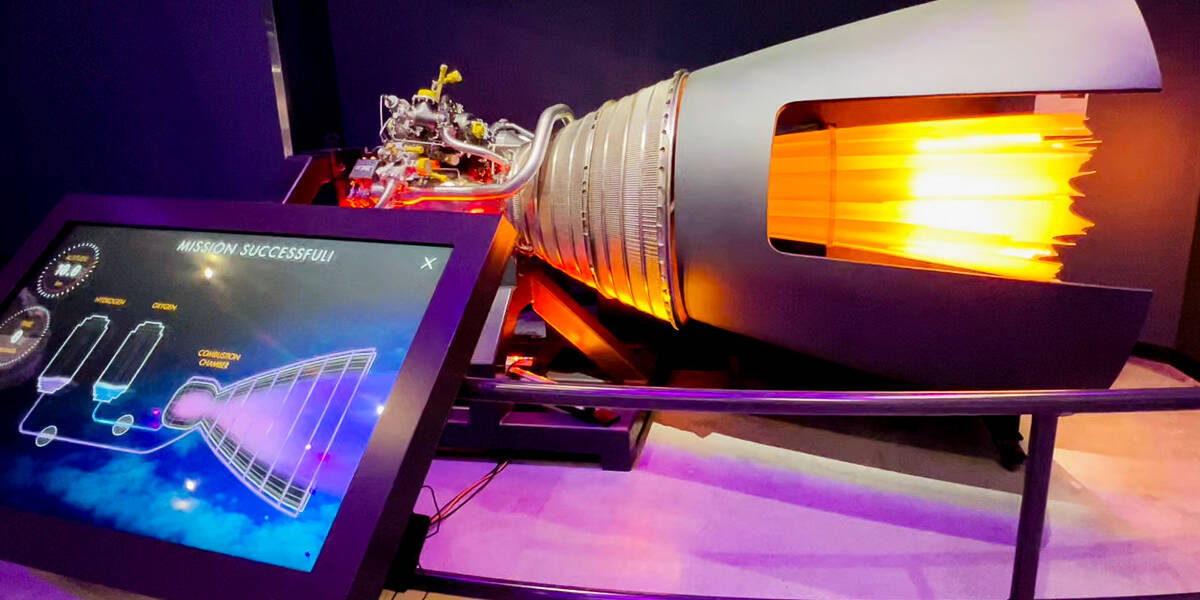
This museum project was constructed using the Unity 3D game engine and published as a Windows desktop application. The objective of this “game” was for the user to trigger the right mixture of hydrogen and oxygen at the right time. If done correctly, an animation of a rocket engine would be displayed, otherwise, the engine would sputter and spit out smoke.
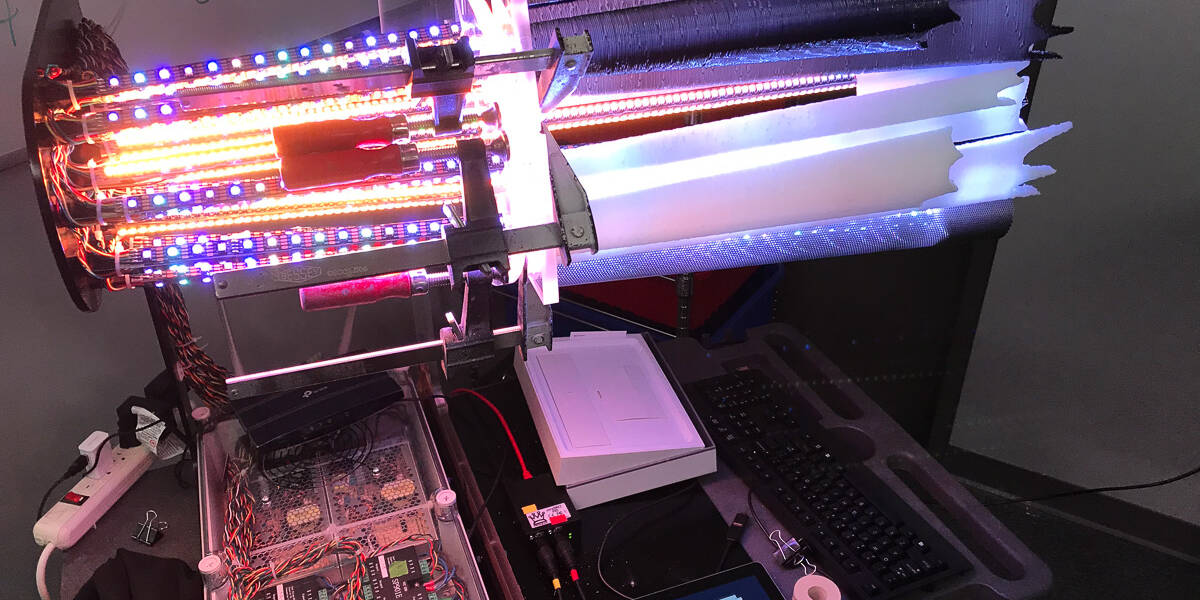
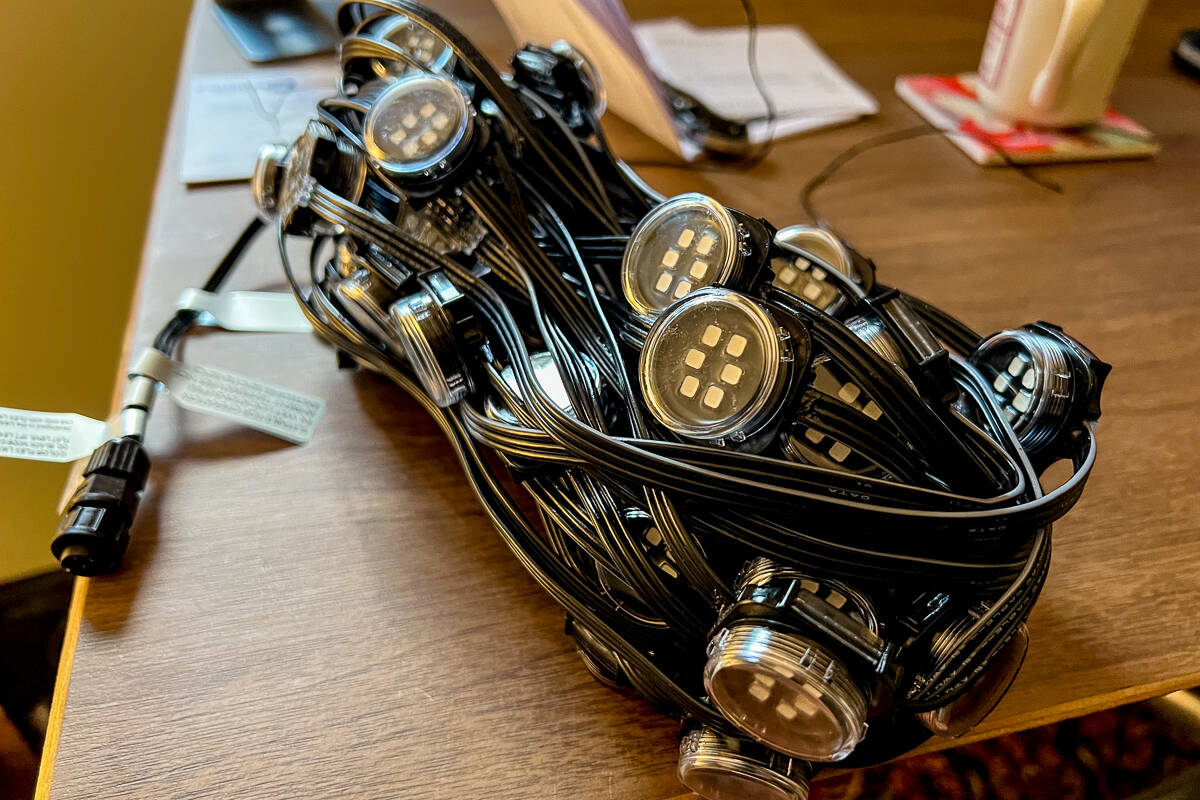
To do more than just provide some on-screen animation, this application also triggered an LED light “sculpture” of an RL10 rocket engine and playback thunderous audio track via ethernet (networked) communications.
The first question, “how to create the LED animation – streaming LED sequences to replicate the look of a rocket engine launch?” I tend to think about using Adobe After Effects (AE) to create animated pieces. I have been working with AE for over 20 years and figured I could just open a new AE comp, add some layers, effects, keyframes, and boom export a PNG image sequence that looked like flames.
I felt it was the easiest method to generate the animation. From there I would dynamically import the pngs into Unity. The next step was to sample the png pixels that would be mapped to the real-life LEDs on various LED strips. It sounded all good on paper and it kind of worked. The key challenge was if a change was needed by the Art Director, I would need to tweak the After Effect comp, export the image sequence (not a huge deal). The resolution was only something like 12×144, but it did add up.
The other issue was translating the Red, Green, and Blue (RGB) values from the pixels to the correct values for the LED. I thought going from 0 to 255 for each color channel would be relatively easy, but it did not quite reflect the actual color of the AE animation. It was compounded by the fact the LED used were RGBA – which includes the Alpha (essentially the brightness). It was not a perfect or even an optimal solution. The LED also did not have the wide “brightness” range that computer monitors have.
As the application evolved, I transitioned away from the png image sequence. The primary reason was I needed to provide a method to dynamically make changes to the engine flame in almost real-time as the LED sequence was running. I needed to improve the process to make changes.
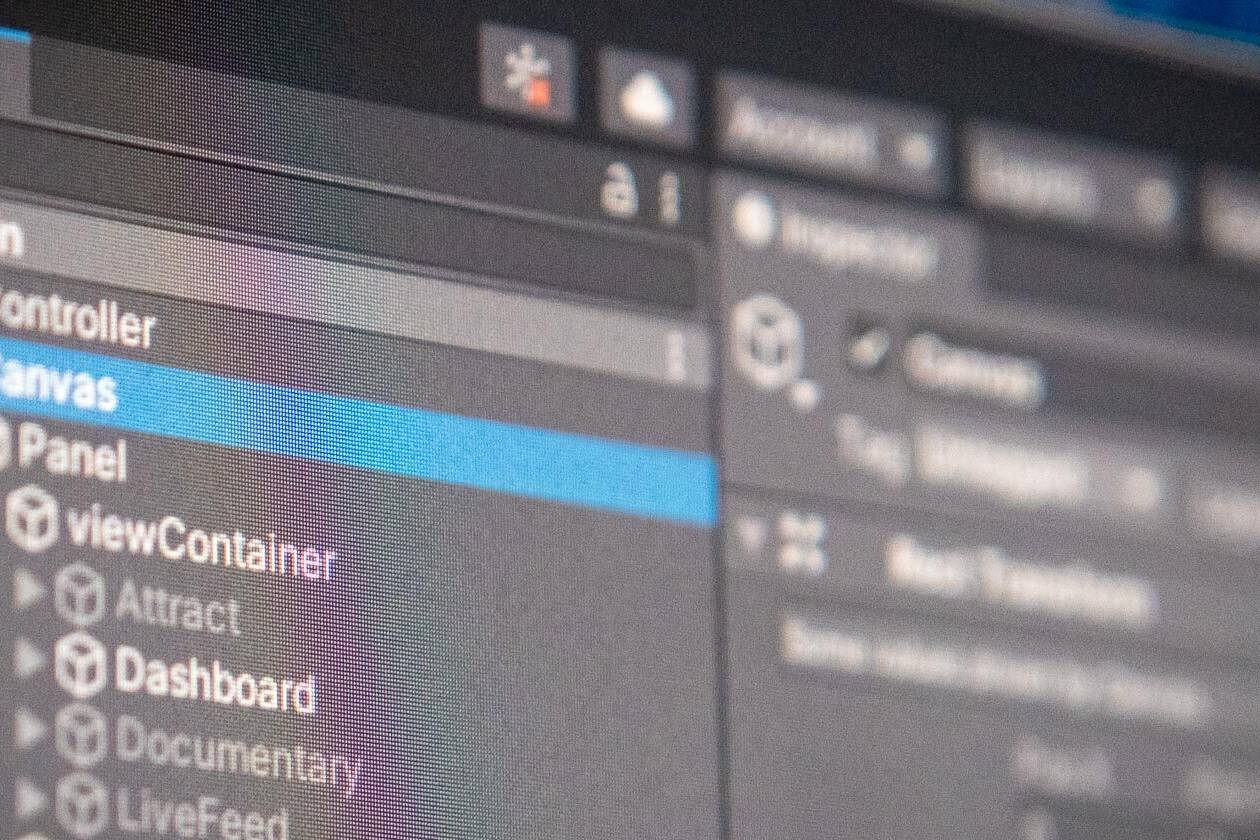
My solution was to use Unity and its built-in Gradient object type. I could create an array of various gradients and then sample each value at a given time – like 30 frames per second. This was easily done in the Unity Inspector panel. It still worked like the png sequence, but I could eliminate the AE part of the process. I was also able to adjust the speed of how fast the gradient was being sampled thereby controlling speed variations of the rocket flame.
I continued with this approach from the prototype phase to the actual production build of the RL10 rocket engine “sculpture”. There were some elements that I would have liked to adjust, but it was a success. It would not be until a following project that required a similar setup that I scrapped this approach. In this field, you learn something new with every project. You gain a bit of wisdom, some code to perhaps use later on, and perspective. It’s all about learning and discovery. I smile when I think of all the people that get to experience the result of my continued education and just tinkering with tech.
Related Posts
Controlling the Light, part 2
My introduction to DMX and controlling light really started back in the late…
Unity + BrightSign, part 1
I love the idea of a BrightSign, a small device without the overhead of Windows…